Python from the Shell
Applied Review
Functions
- Functions take inputs (arguments) and produce outputs (return values)
- Functions can take arguments by order or by name (aka keyword)
- Good functions abstract away complex code into a single, well-named and well-documented interface.
Applying Functions to DataFrames
- Series and DataFrame objects have an
applymethod that accepts a function
- In a Series,
applyapplies the function to each element in the Series
- In a DataFrame,
applyapplies the function to each row or column
- In the case of DataFrames, applied functions can return scalars or Series
- In the former case, the full output of the
applywill be a Series - In the latter, the full output will be a DataFrame
- In the former case, the full output of the
The Shell
The shell is the technical name for the command line. While all of our Python work in this course has been via Jupyter Notebooks, historically most programming has involved using the shell.
- On Windows, the default shell is called Powershell.
- On older Macs and most Linux, it's Bash.
- On newer Macs, it's Zsh.
Zsh and Bash are quite similar in basic use; Zsh is a successor to Bash, and it's more powerful as you take on more complex tasks. Powershell has almost nothing in common with the other two.
Fortunately, in Windows installations, Anaconda comes with its own shell: Anaconda Prompt. If you use Windows, I recommend using this instead of Powershell to interact with Python and the related tools.
Shells typically only accept text input and show text output. The mouse doesn't register, and there are no images.
This type of environment can be very intimidating to newcomers -- and sometimes even to intermediate users -- but the shell is important.
The shell is alternatively sometimes called the command line or the terminal. These terms have subtly different meanings, but for most discussions you can treat them as interchangeable.
Reasons to use the shell:
- It's universal -- Every computer has a shell. Even mobile devices sometimes support access to the shell.
- It's "closer to the metal" -- While in many cases a simple interface is desirable, when the time comes that you want more direct control of the computer then the shell is the best option.
- Some functionality is only available in the shell -- Batching code (running Python non-interactively, outside a notebook) is best done directly from the shell.
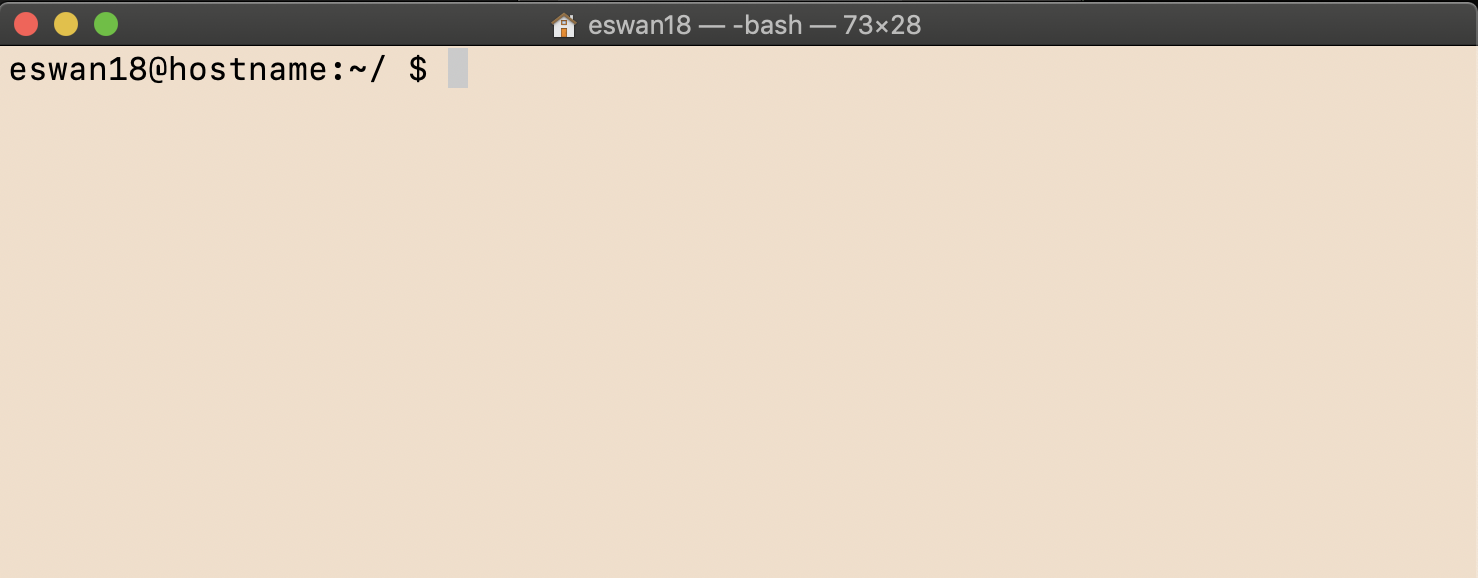
Most shell prompts look something like this:
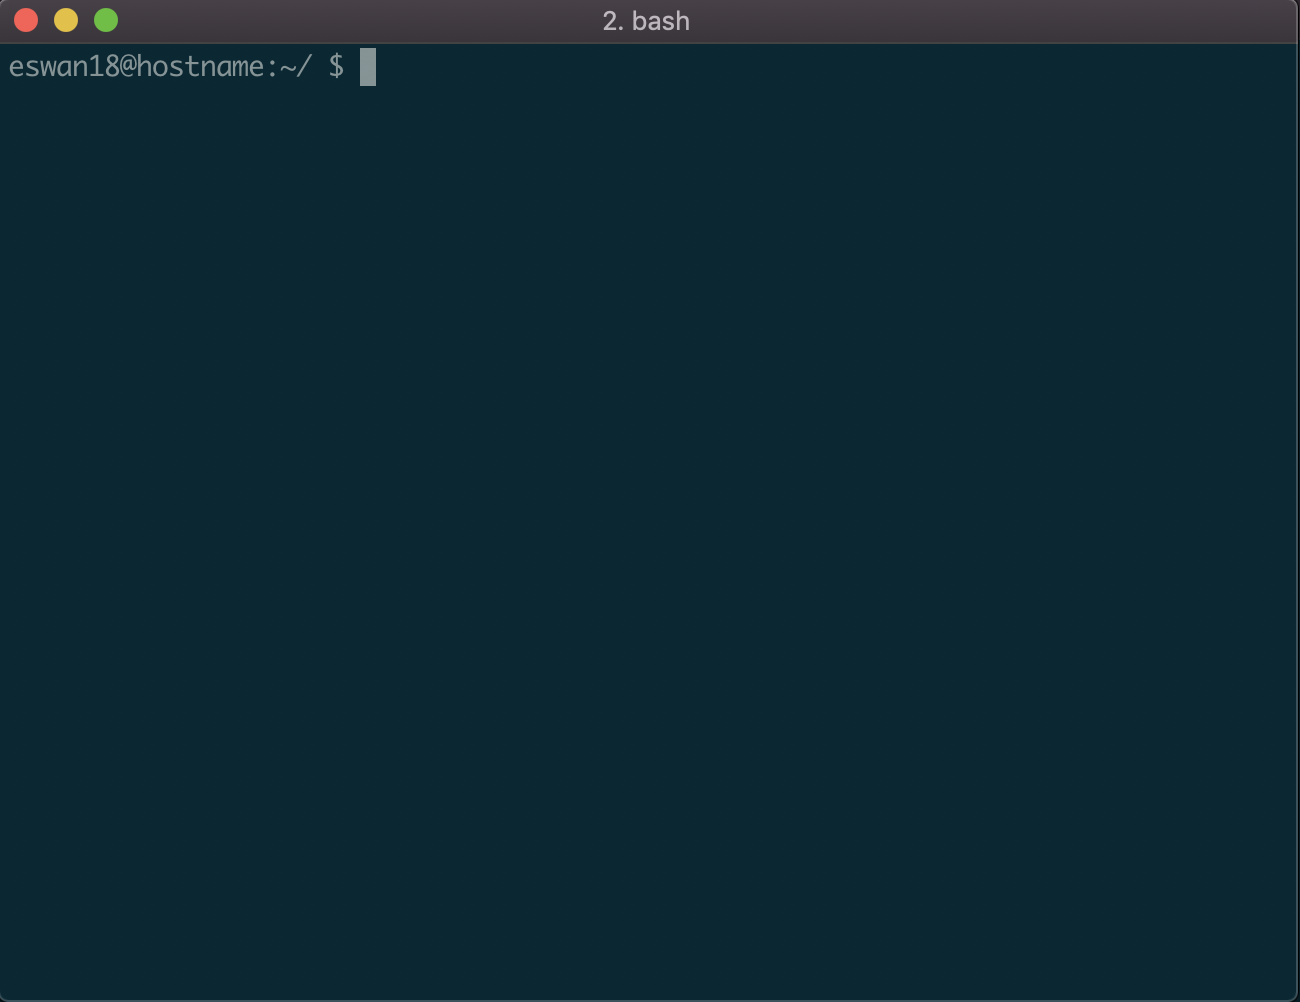
Or like this
Or, on CSI, like this:

The text up to and including the dollar sign is called the prompt.
It's a prompt because it's prompting the user to enter input. You, the user, enter commands after that trailing $, %, or > (depending on which shell you use -- here $ for Bash) -- and the shell shows results in the space below.
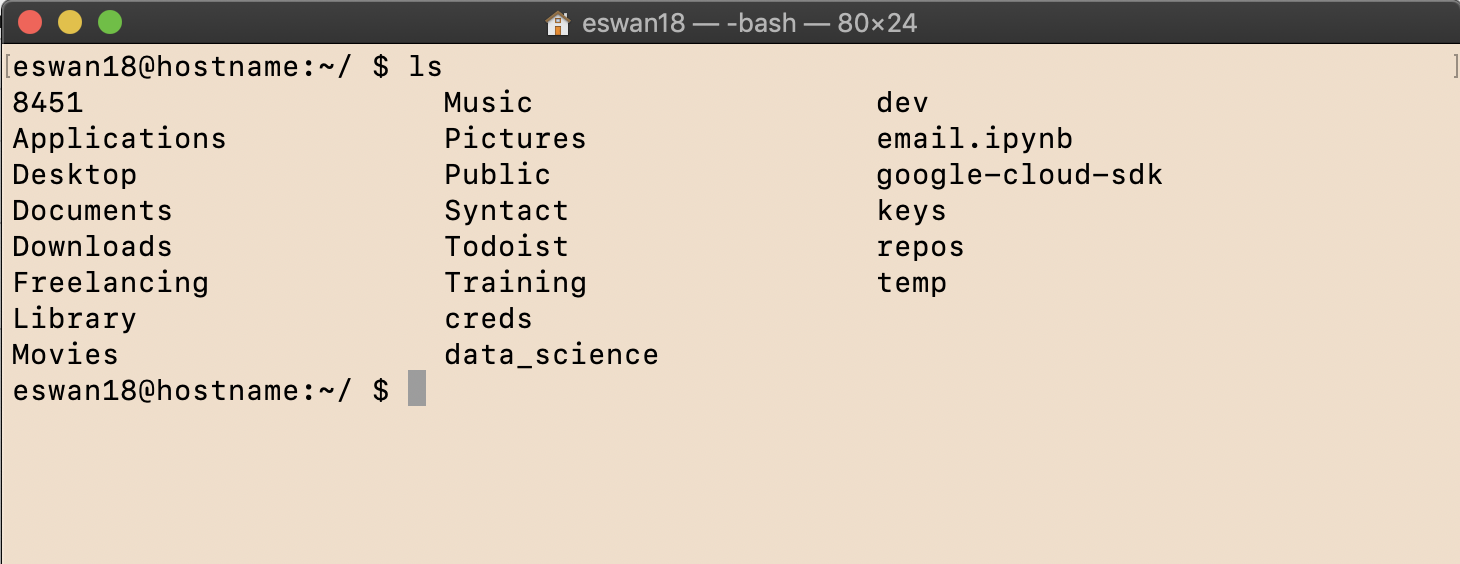
Above, I ran the ls command, short for list files. The shell printed a list of files in my home directory.
Then it printed a new prompt. Ready for more commands!
On whatever platform you're using, you can access a Bash shell through JupyterLab.
In the "New" menu, one of the options near the bottom is "Terminal".
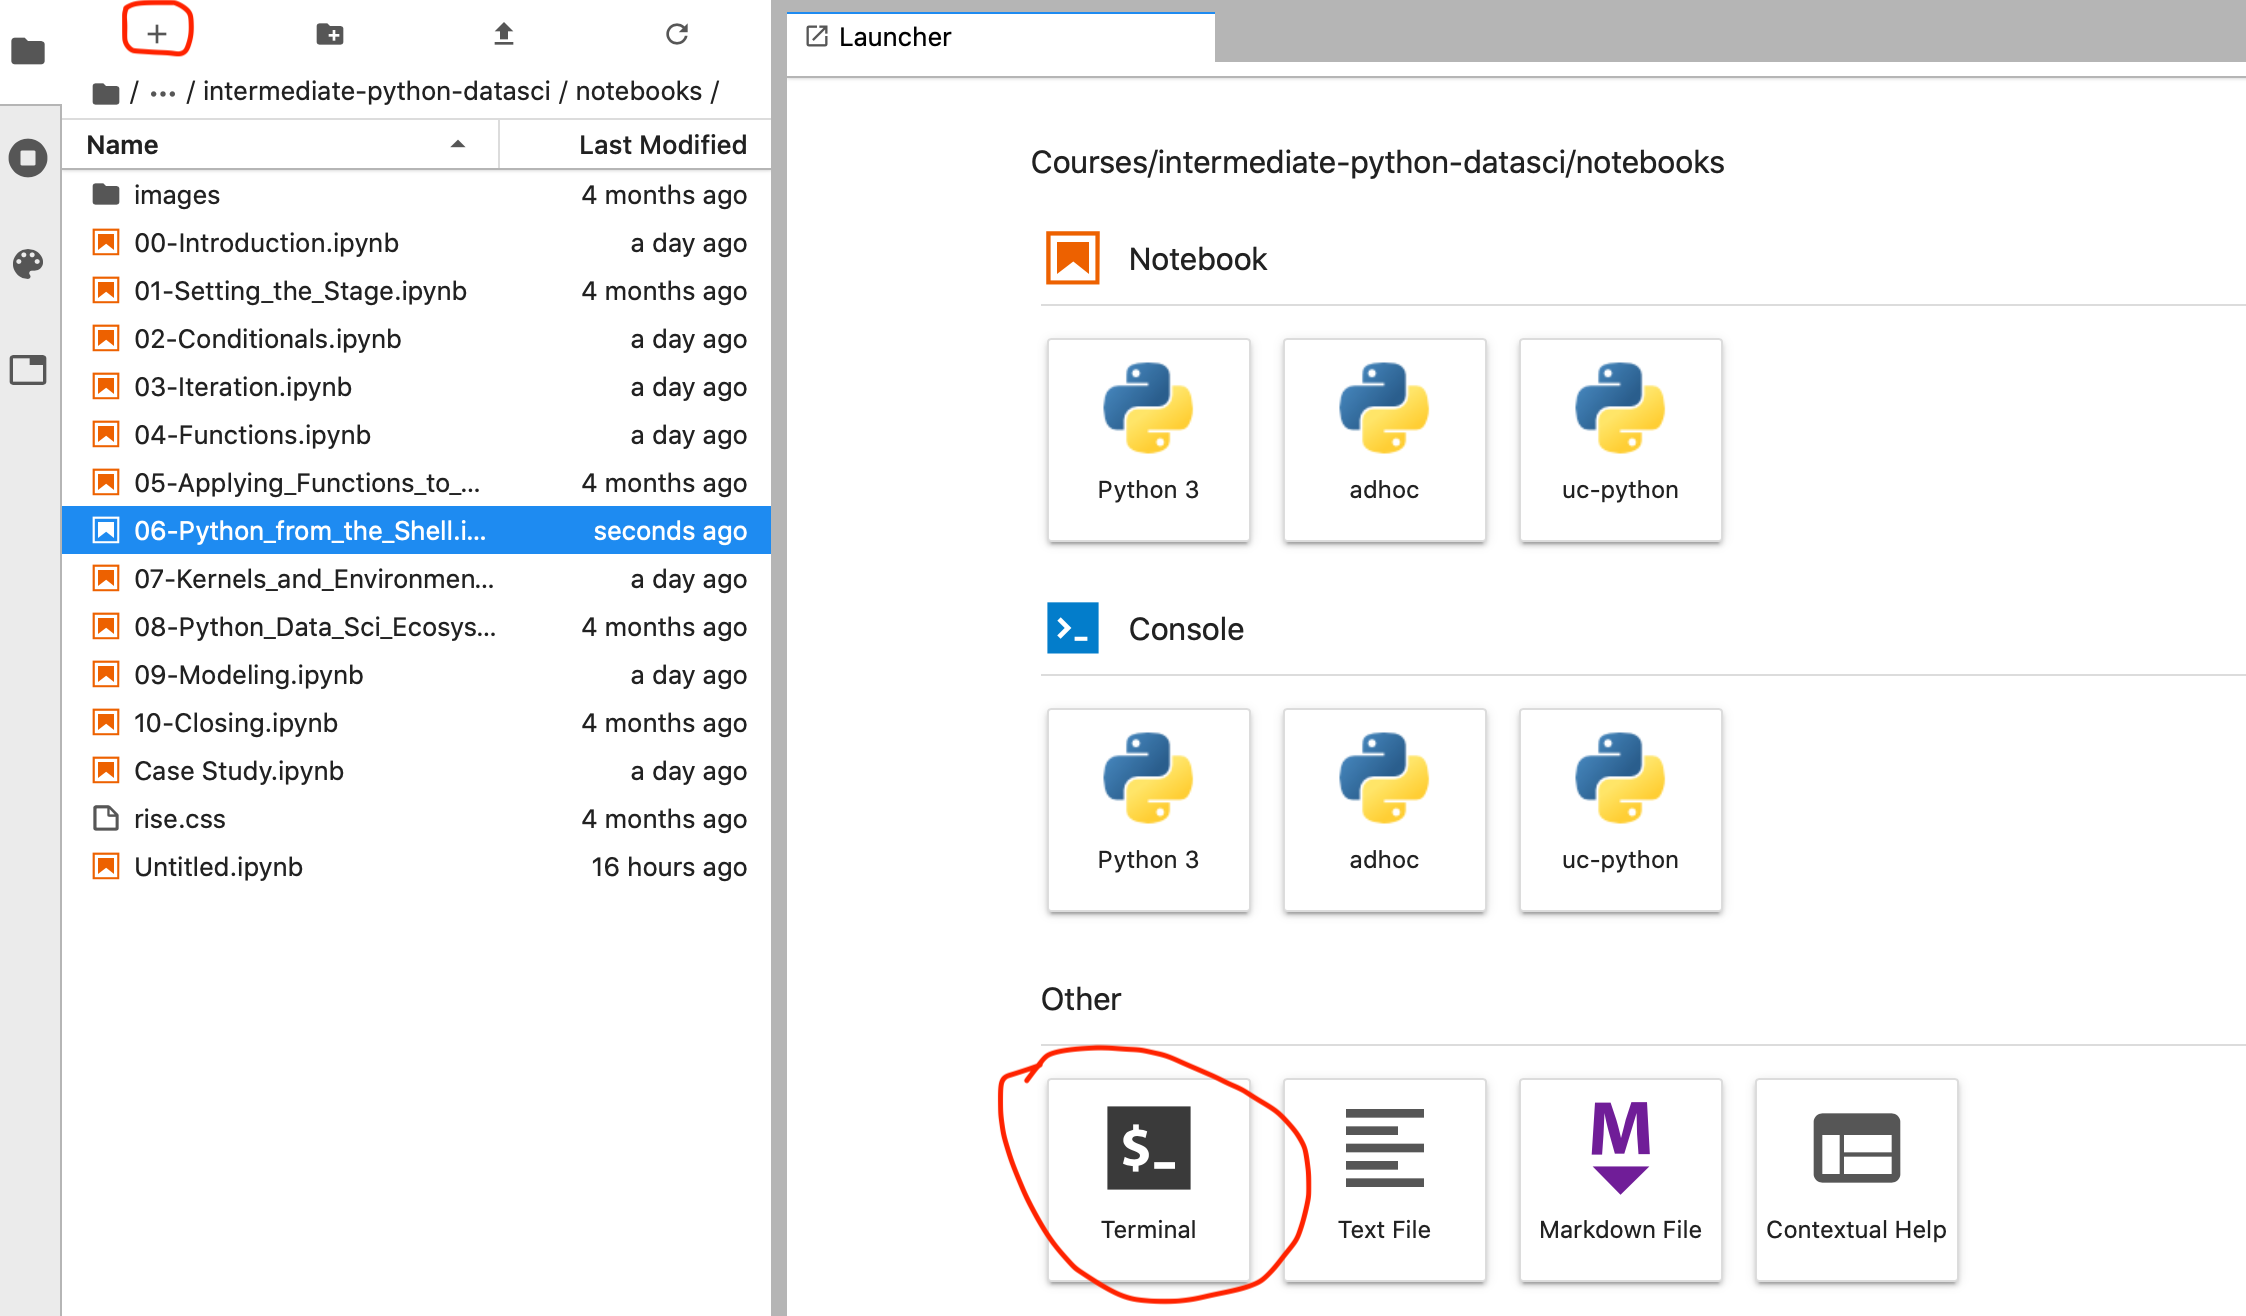
However, in my experience, this JupyterLab-based shell isn't the best option on Windows. Instead, I recommend Anaconda Prompt, which should be a program available in the Start menu.
Your Turn
Open a shell -- on Mac, through Jupyter; on Windows, by launching Anaconda Prompt.
Type conda and see what happens.
On Mac, type ls and run it; on Windows, dir.
Can you figure out what information these commands are outputting?
Unfortunately, we don't have time in this course to cover general shell usage.
But we will talk about how to run Python from the shell....
The Python REPL
Before Jupyter notebooks, the way to work interactively was through the Python REPL.
REPL stands for Read, Evaluate, Print, Loop.
Python reads input (code) from the user, evaluates that input (runs the code), prints any results, and then loops back to the beginning and starts again.
When you think about it, this is pretty much what Jupyter notebooks do: read the code you type in a cell, evaluate it, print output, and start a new cell where you can do it again.
There are a two versions of the Python REPL:
- Classic -- straight Python with no frills. No autocomplete, no documentation with
?. - IPython -- a friendlier, newer version of the Python REPL from the creators of Jupyter.
We're going to use IPython. In my own work, I use IPython often -- sometimes even when Jupyter Notebooks are available.
Your Turn
Open the shell on your device and type ipython (case matters!).
Take a look at the prompt that appears, and then type x = 4.
Now print(x).

Hopefully you saw that IPython is just like Python in notebooks (except it doesn't support markdown and graphics).
If you don't do much plotting, this interface can be a perfectly good way of working in Python.
I like it because it's more compact than Jupyter notebooks –- I can work quickly in IPython and keep other windows open as well. Often I write experimental code in IPython and copy the parts I want to keep to another file.
.py Files
Speaking of other files, what type of file would one copy Python code to?
A file with a .py extension, the native extension for a Python script.
.py files are plain text; there's nothing in them but Python code.
This is in contrast to notebooks, which save a lot of metadata:
- Whether cells have been run (and in what order)
- Markdown
- Information about how to convert to slides
- Several other custom tags.
A .py file is sometimes called a Python script, a term for a file containing source code.
Other languages, like R, Perl, and Ruby, also call their source code files "scripts".
Why Use .py Files?
Though .py files do come with fewer features than notebooks, they are excellent at a few things:
- Running code non-interactively, or batch style
- The user can kick off these files and walk away, and they will run until complete.
- Making libraries
- All the packages you've seen (Pandas, scikit-learn) are written in .py files, not notebooks.
- Building large applications
- The enormous complexity of software development means that the metadata of Jupyter is just overhead; most developers want nothing but code.
How Do You Write .py Files?
You can write a .py file in any text editor that's capable of saving plain text, or files that contain text and nothing else.
Most text editors for creating complex, styled documents are not suited for this purpose, e.g. Microsoft Word, Google Docs, or Apple Pages.
But applications like Notepad and TextEdit do support plain text-editing. And Jupyter has a built-in text editor for writing .py files, also available in the New dropdown.
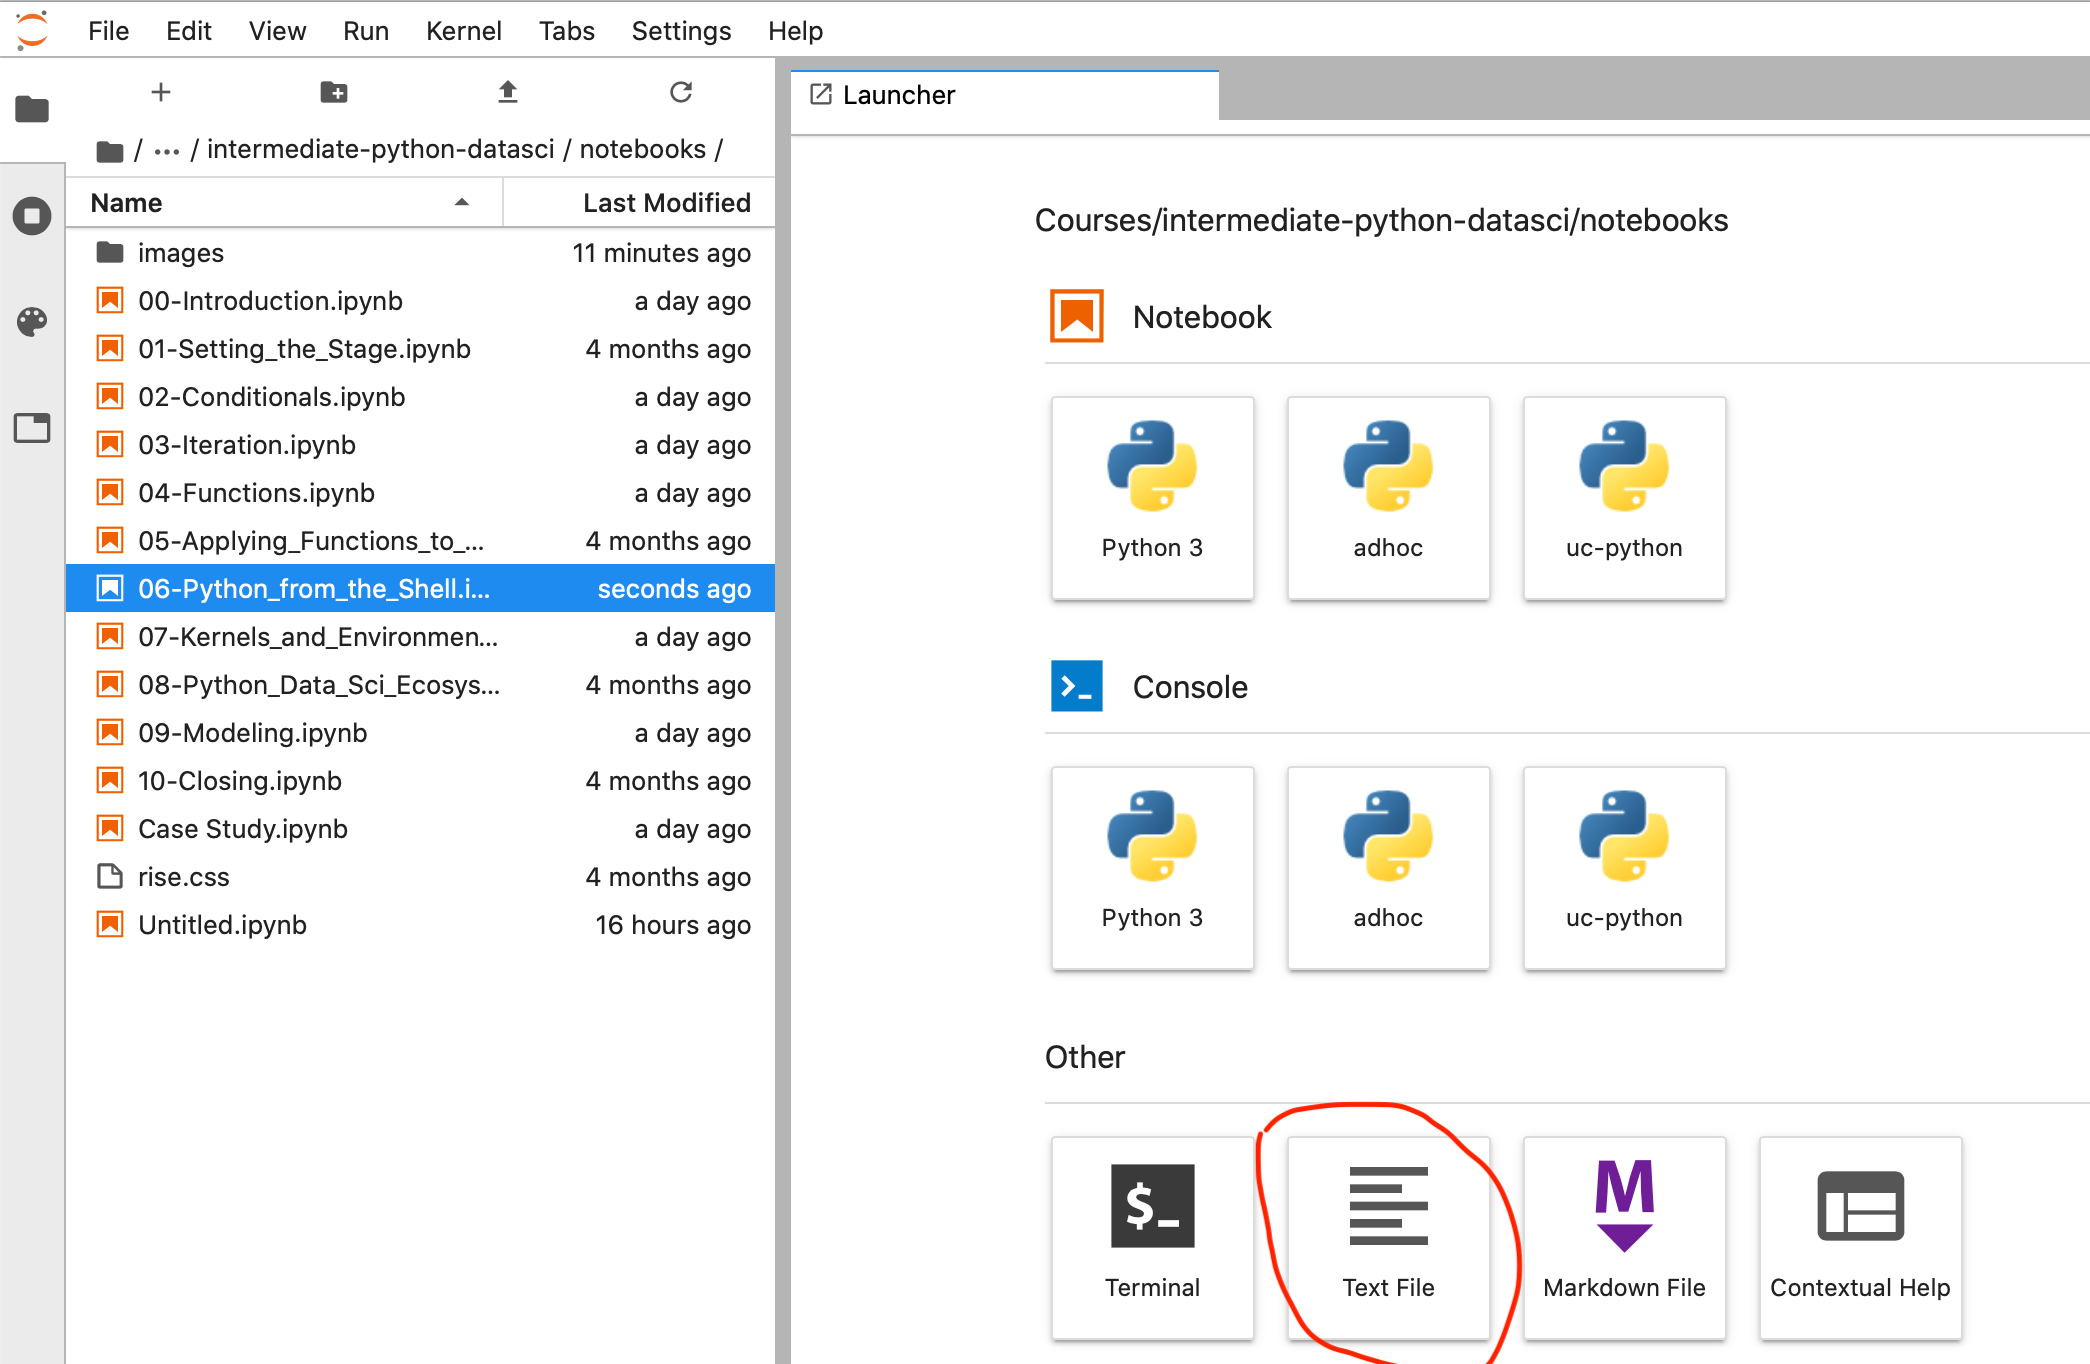
Rename the file (by right-clicking on the current filename, untitled.txt) to script.py.
The important thing is that it ends in .py.
Then go to File > Save. Close the window when you're finished.
Running .py Files
.py files are run with the syntax
python <myfile.py>
where <myfile.py> is replaced with the name of the .py file (no chevrons).
However, your terminal session must be in the same folder as the Python file -- Python only looks for files in the current directory.
A discussion of directory navigation from the command line is beyond the scope of this class, but if you expect to work from the shell often, it's a topic worth researching.
Your Turn
Take a moment to open a terminal and run your new .py file in the shell with
python script.py
What output is produced?
Exporting Notebooks as .py Files
While the preferred way of creating .py files is via a plain-text editor, it's possible to convert a Jupyter notebook to a .py file.
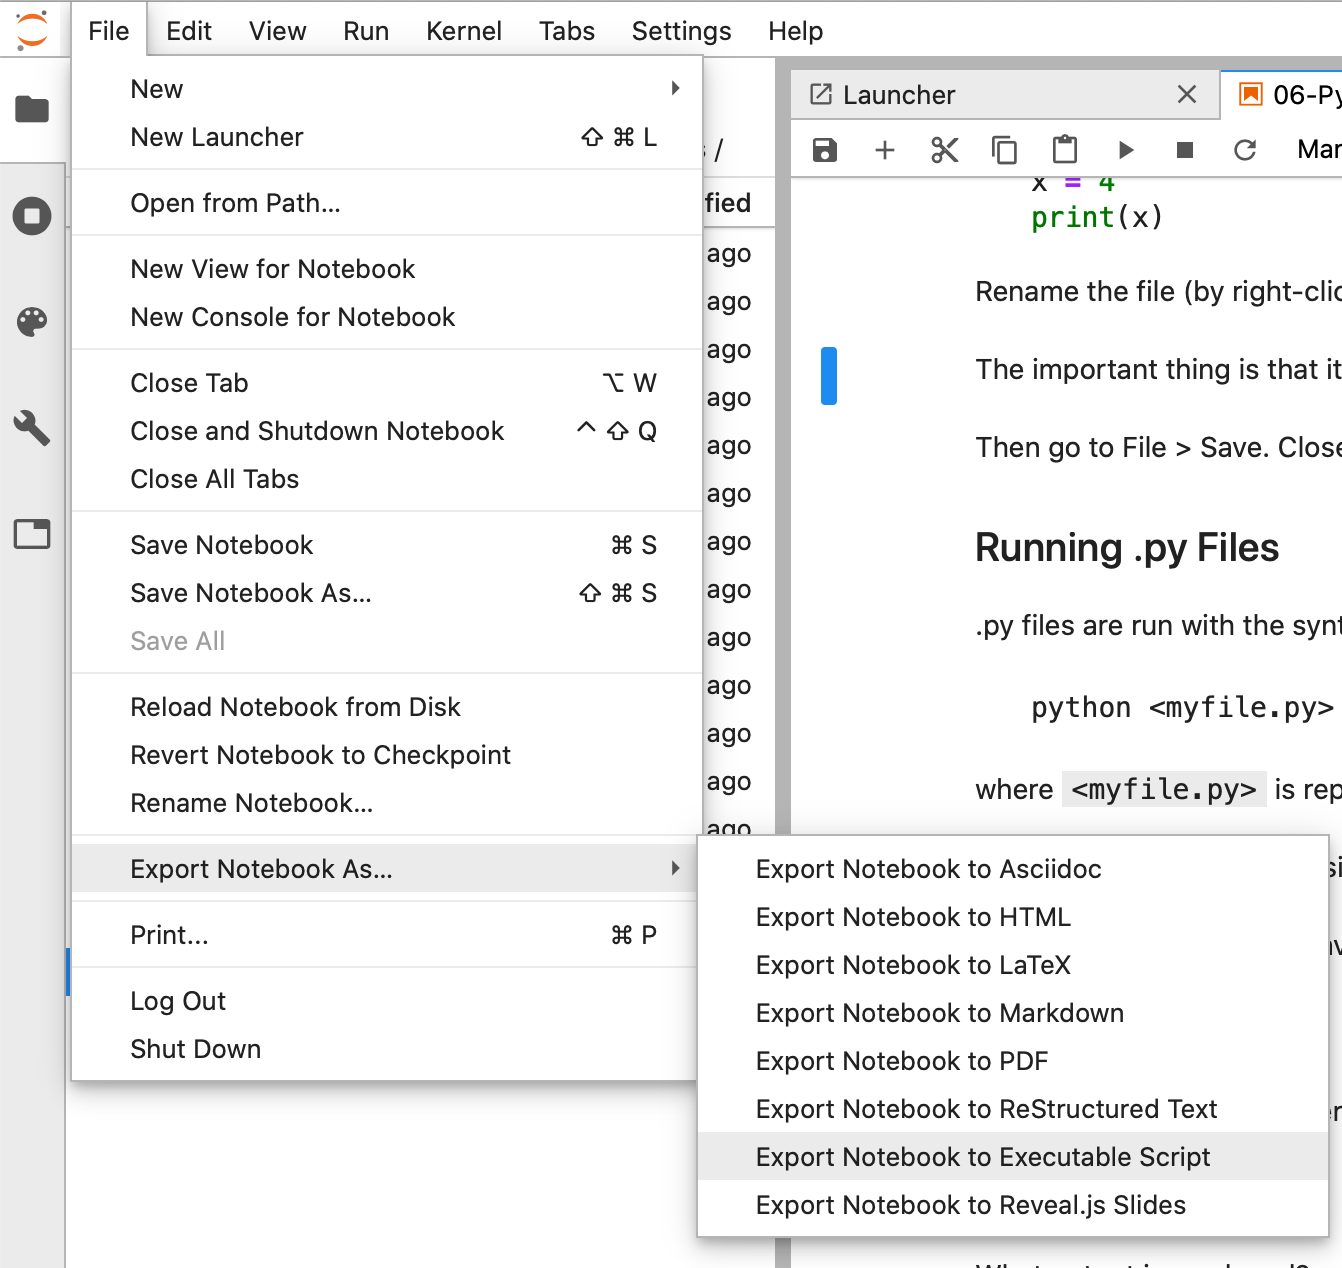
In the Jupyter menu, go to File > Export Notebook As > Executable Script -- Jupyter will initiate a download on your computer.
However, this translation isn't perfect: markdown cells will become regular comments, and cell magics (which we will discuss shortly) will break when run in regular Python.
Differences Between Python scripts, the Python/IPython REPL, and Jupyter
Previously, we talked about how Python is the same in the shell as it is in Jupyter; however, this is a slight simplification.
Let's dive into precisely when and how Python behaves differently in the two contexts.
Graphics
The most obvious difference between the shell and notebooks is that the latter supports graphics -- styled text rendering (markdown cells) and plots/visuals.
If you want to produce graphics from the shell, it is possible although we don't recommend it.
Different plotting libraries have different settings to enable graphics from the shell, and those visuals will usually appear in a pop-up window.
Automatic Printing of Output
In Jupyter, you've seen that variables/expressions on the last line of a cell are printed out. E.g.
y = 10
y
10
In the Python REPL, this rule still applies. But not so in .py files! (They don't have any cells.)
In Python scripts, only explicit print calls will yield any output.
So as a script-writer, you need to be more mindful of what output you would like to have displayed.
y = 10
print(y)
10
Cell Magics and ?
We haven't discussed cell magics, but you may see examples of them in others' code.
Cell magics begin with one or two percent signs.
For example, you can time the execution of a cell by putting %%time at the beginning.
Cell magics, along with the ? for accessing help documentation, are Jupyter-specific features.
Some work in the IPython REPL (though not in the classic Python REPL), but none work in .py files.
Batching Code
As we've discussed above, only .py files can be batched -- the .ipynb format of notebooks is strictly an interactive format.
However, it's worth noting that there are projects working toward making .ipynb files batch-able. The most prominent example of this is Papermill, an open-source tool developed by Netflix (who relies heavily on Jupyter Notebooks in their data science department).
Questions
Are there any questions before we move on?